Finger Fritters or Zlebiyeh is another traditional pastry prepared to celebrate Epiphany. Apart from that particular occasion, I have rarely seen Finger Fritters or Zlebiyeh sold in shops. These are frequently confused with Lebanese doughnuts or oowamat / owwamat.
The recipe is easy to make, however, to give it a crunchy taste and prevent the inside from becoming doughy, Finger Fritters need to be deep-fried twice. Finger Fritters or Zlebiyeh are suitable for most people particularly vegans, they can be served sprinkled with sugar or dipped in sugar syrup which should be warm: not too hot or cold.
Makes about 20
Ingredients
For the Finger Fritters
- 125g / a little over 4½ oz all purpose flour
- 125g / a little over 4½ oz fine semolina
- 1 tsp ground aniseeds
- ½ tsp ground mahlab (see glossary)
- ½ tsp poppy seeds
- 1½ tsp ground nutmeg
- 1½ tsp yeast
- ½ tsp salt diluted in warm water about 150ml / 5fl oz (enough to bind the dough)
- Vegetable oil to deep fry
Sugar Syrup/Ater
- 1 full cup granulated sugar
- ½ cup water
- 1 tsp lemon juice
- 2 tsp orange blossom water
- 1 tsp rose water
Equipment: you need a deep fryer and preferably an electric mixer.
Method
- To make the Finger Fritters. Mix all the dry ingredients in a bowl wide enough to let the dough rise later. Gradually, add in the salted warm water, mixing with your hands until you form a dough.
- Transfer the dough into a lightly floured surface and knead for about 6 minutes. Alternatively, you could do the whole process in an electric mixer using the dough hook, thus reducing the kneading time by half (to about 3 minutes). In the end, the dough should feel soft and elastic, shape into a ball. Grease the bowl with a dab of oil and transfer the dough into it then cover with a polythene bag or cling film, but make sure that they are brushed with a little oil to prevent the dough from sticking. Leave it in a warm place for 1½ hours to rise.
- When the rising time is up, pick up the dough and put it on a lightly floured surface. Punch it to get rid of the excess air, knead briefly then shape into a long fat roll. Divide this into equal portions.
- Take one dough-portion and cover the rest. Using your hands, stretch and shape the portion of dough into a long thin sausage (see picture). Put it on a lightly floured hard surface such as cutting board (you need to cut it later) and cover. Repeat the same process placing the long thin sausage-like dough shapes neatly parallel to each other until you finish all the dough portions. If you can, try to keep them all the same length, it helps to cut them at equal lengths.
- Next, using a long sharp knife, cut the sausage shaped lengths of dough into 10 cm/ 4 inches, long pieces or fingers.
- Transfer onto a tray lined with baking parchment, cover and let the fingers rest for 20-30 minutes. Meanwhile prepare the sugar syrup/ Ater.
- Tip sugar and water into a saucepan, using a medium heat setting, bring them to the boil stirring occasionally. Stir in the lemon juice and let the mixture simmer for about 4-5 minutes, until it reaches a stage where the syrup coats the back of a spoon. Finally, switch off the heat and stir in the rose and orange blossom water
- When the second rising time is up, heat the oil to 190ºC / 375ºF. If you haven’t got a thermometer, drop a small dough fritter into the deep fryer and if the oil bubbles around it, it is ready to use.
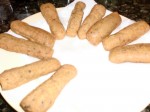
- Deep fry the fingers for three minutes turning them so they are cooked on all sides, you may need to do them in batches. Drain on kitchen papers. Keeping the oil hot, (starting with the first previous batch) repeat the deep frying for another three minutes, by which time the fresh Finger Fritters or Zlebiyeh should turn deep golden and crunchy.
- Now, you can drain off any excess oil on the kitchen papers, sprinkle sugar on top and serve. If you prefer the Finger Fritters or Zlebiyeh sweeter, dip them straight into the warm sugar syrup (you can always reheat it if it becomes cold), leave them to soak for 1 minute then take them out and they are ready. These Finger Fritters or Zlebiyeh can be eaten warm or cold. Finger Fritters or Zlebiyeh keep for approximately for two days.

Place the long thin sausage-like dough shapes neatly parallel to each other.

Finger Fritters or Zlebiyeh freshly deep fried.


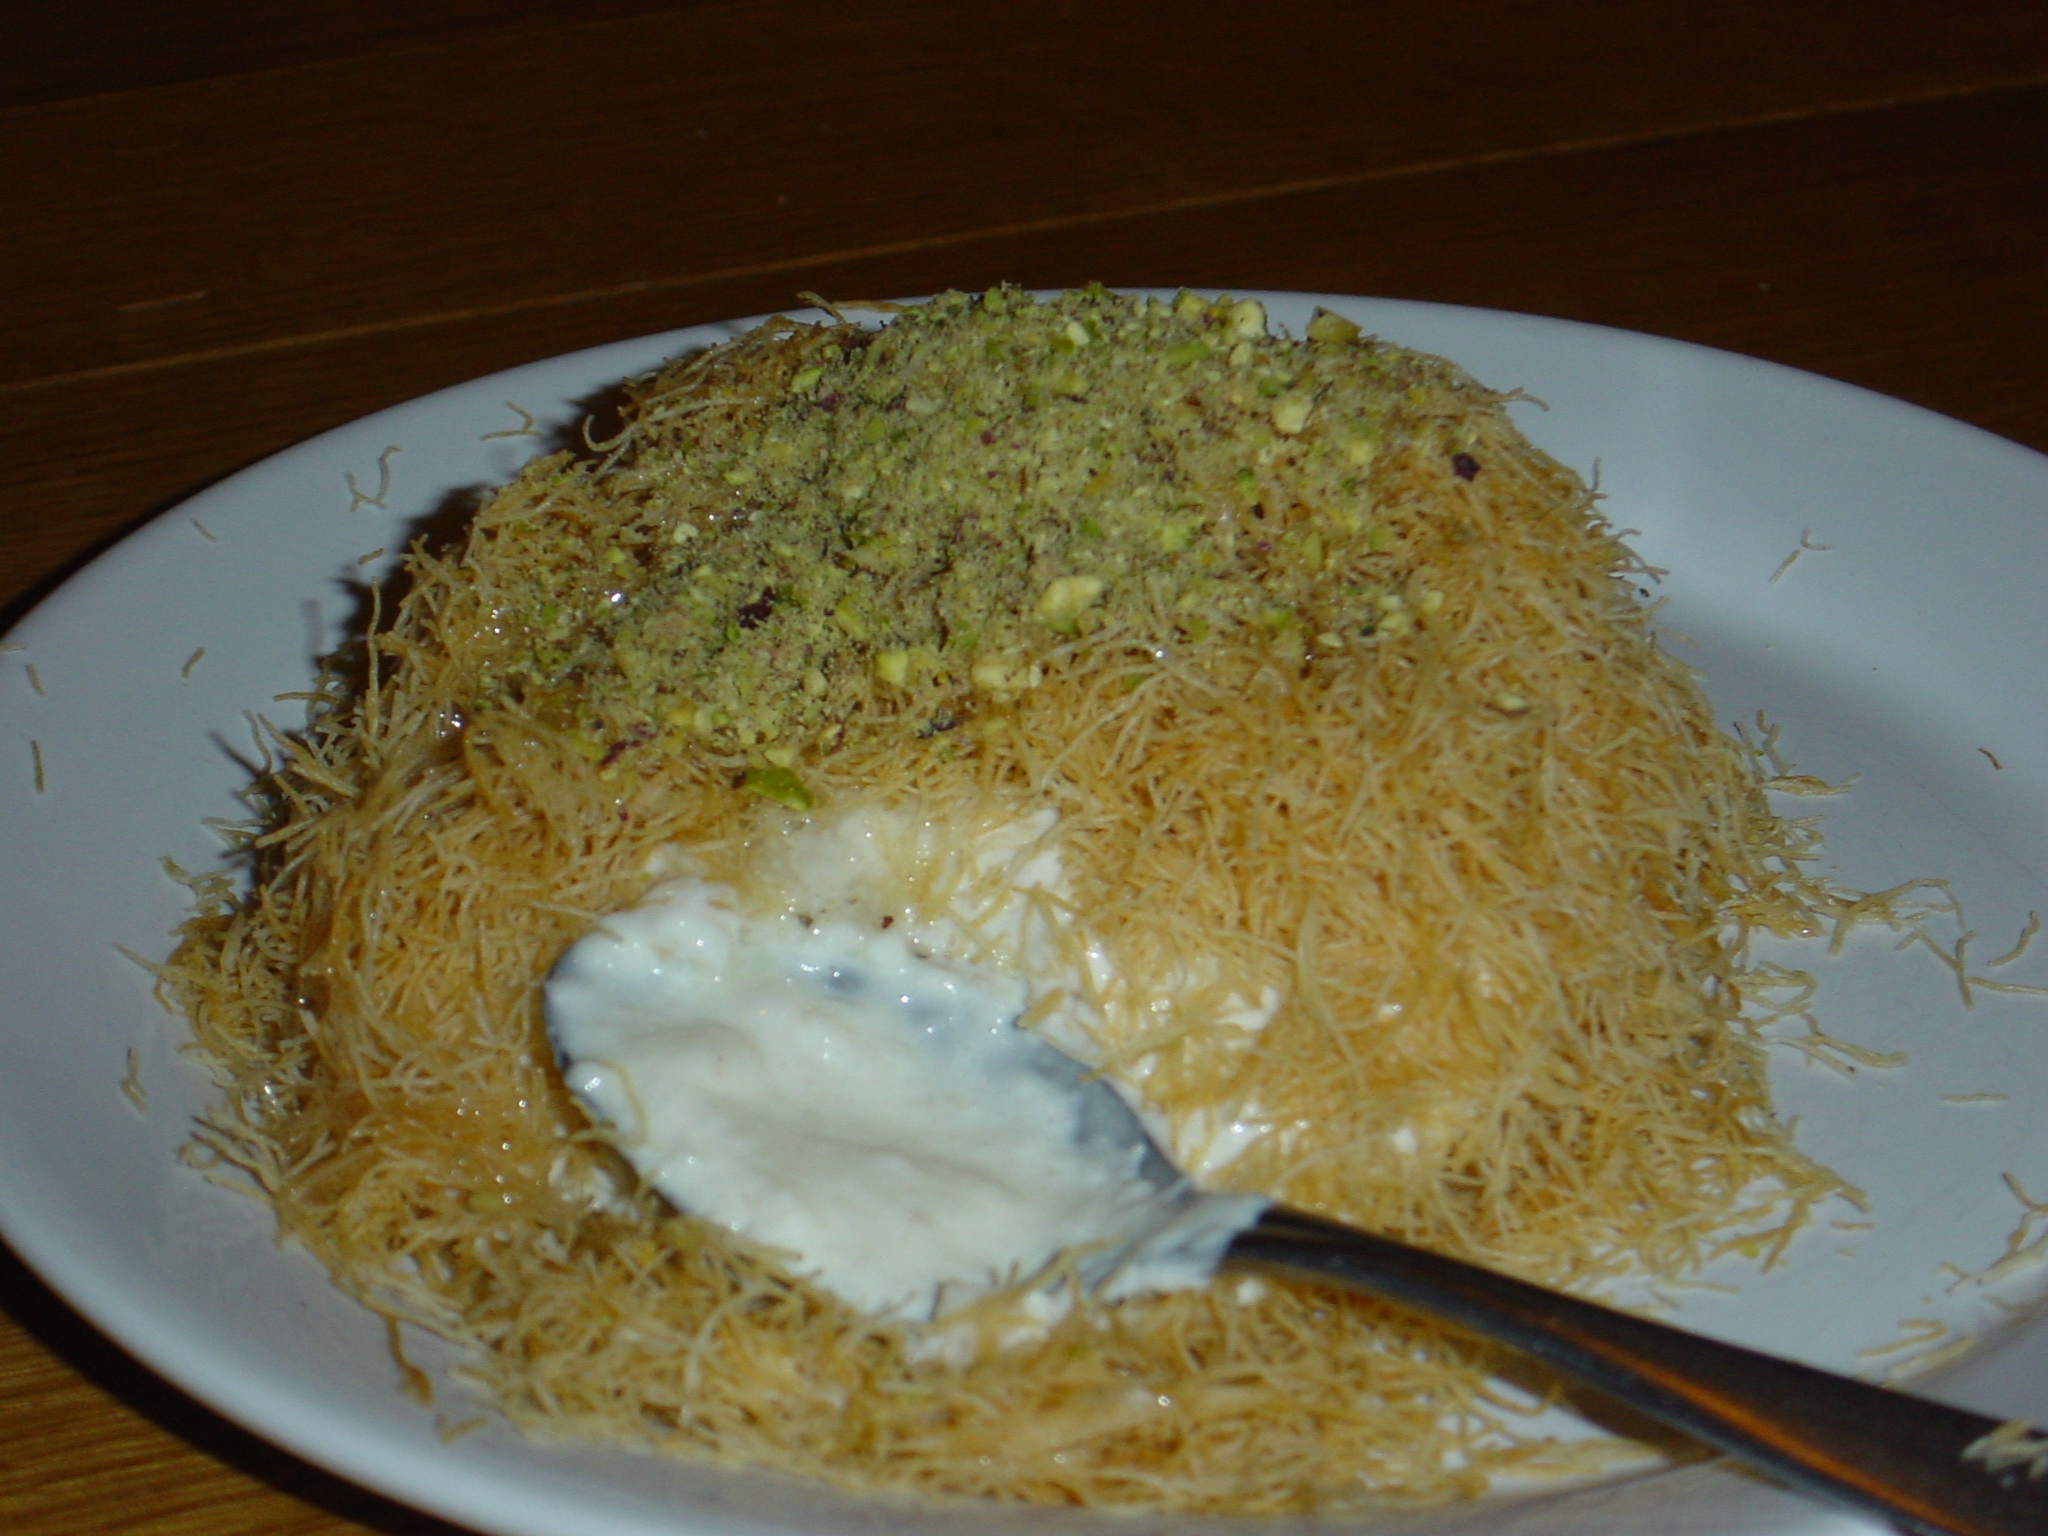
 Uncooked Shredded Pastry


