Kofta with Burghul (Kafta Khashkhash) is made with burghul. It might surprise you that it is classified as kofta or kafta although it does not include parsley like traditional kofta. Khashkhash means poppy but actually, it has no relation to the ingredients, however, the verb it derives from khashkhash means rattle or crackle, since this kafta has to be grilled therefore, it could be an explanation: crackles as it cooks over an open fire?
Once the kofta or kafta is cooked, each piece is wrapped with a grilled aubergine slice, topped with a spicy tomato sauce then served. Therefore, three main components make this dish: the Kofta or Kafta mixture, grilled aubergine slices and tomato sauce. It may seem lengthy, but in fact, it is easy, the kofta or kafta mixture as well as the tomato sauce can be prepared ahead of time
Serves 4
Ingredients
For the kofta or kafta khashkhash
100g /4oz fine burghul
One medium onion.
500g/ 1lb 2oz minced lamb or beef.
2 cloves of garlic peeled and crushed to a paste.
1 tbsp fresh chopped oregano (optional).
1 tbsp olive oil and extra to brush the kafta if needed.
A couple of Lebanese bread.
For the aubergines
About 700g/ 1½ lbs large aubergines washed, skin on.
A little olive oil to wipe the grill or griddle.
For the sauce
2 tbsp olive oil
1 medium onion finely chopped
3 cloves of garlic peeled and thinly sliced
1 pepper (any colour) medium sliced
400g / 14oz tin of chopped tomatoes
300-400ml/ 10-14fl oz water
About 90g / 3½ oz fresh coriander, washed, dried then roughly chopped
Seasoning
Salt to taste &freshly milled black pepper
Allspice, ground cumin, ground coriander and ground cinnamon,
Chilli powder (if you like it hot)
Equipment:
Food processor. 12 long metal skewers. Ridged grill or griddle: not essential only for ridged look
Method
Preparing the kofta or kafta khashkhash
Before making the kafta, soak the burghul for about 20 minutes squeeze dry then use.
Quarter the onion then process to fine in the food processor. Next, add in the meat and season with salt, freshly milled black pepper, 1 tsp of each ground cumin, ground coriander, allspice, ½ tsp of ground cinnamon, ½ tsp chilli powder (if using it) and crushed garlic. Process briefly to mix, then add the burghul together with the chopped oregano (if using), 1 tbsp olive oil and process again until all the ingredients are thoroughly combined, and you have a paste like mixture. Taste and adjust if necessary. Transfer the mixture into a bowl and pop it in the fridge to rest for half an hour before using it. In fact, kafta mixture can be done a few hours ahead of time and kept in the fridge until ready to grill.
Shaping the kofta or kafta khashkhash
First, have a small bowl of water to moisten your hands when needed. Divide the kafta mixture into 12 equal balls. Now, put one ball in the palm of your hand (lightly wet) and holding one skewer in the other hand, wrap the meat around it. Lightly, squeeze the kafta upwards and downwards to distribute it evenly, leaving gaps on both ends of the skewer. Tuck the edges neatly, then place on a rack ready to go under the grill or on the barbecue. Repeat the process with the rest of the kafta balls.
Grilling the kofta or kafta khashkhash
Preheat the grill or barbecue, for either method, use medium heat. Now, open up the bread and put on a plate, keep handy. Grill or barbecue the kafta for about 6-8 minutes turning it from time to time until all sides are cooked, if you notice it is dry, brush with oil. Once done to your satisfaction, slip the skewered kafta inside the bread. Gently, Press the top bread layer over and pull out the skewers leaving the meat warm inside the bread.
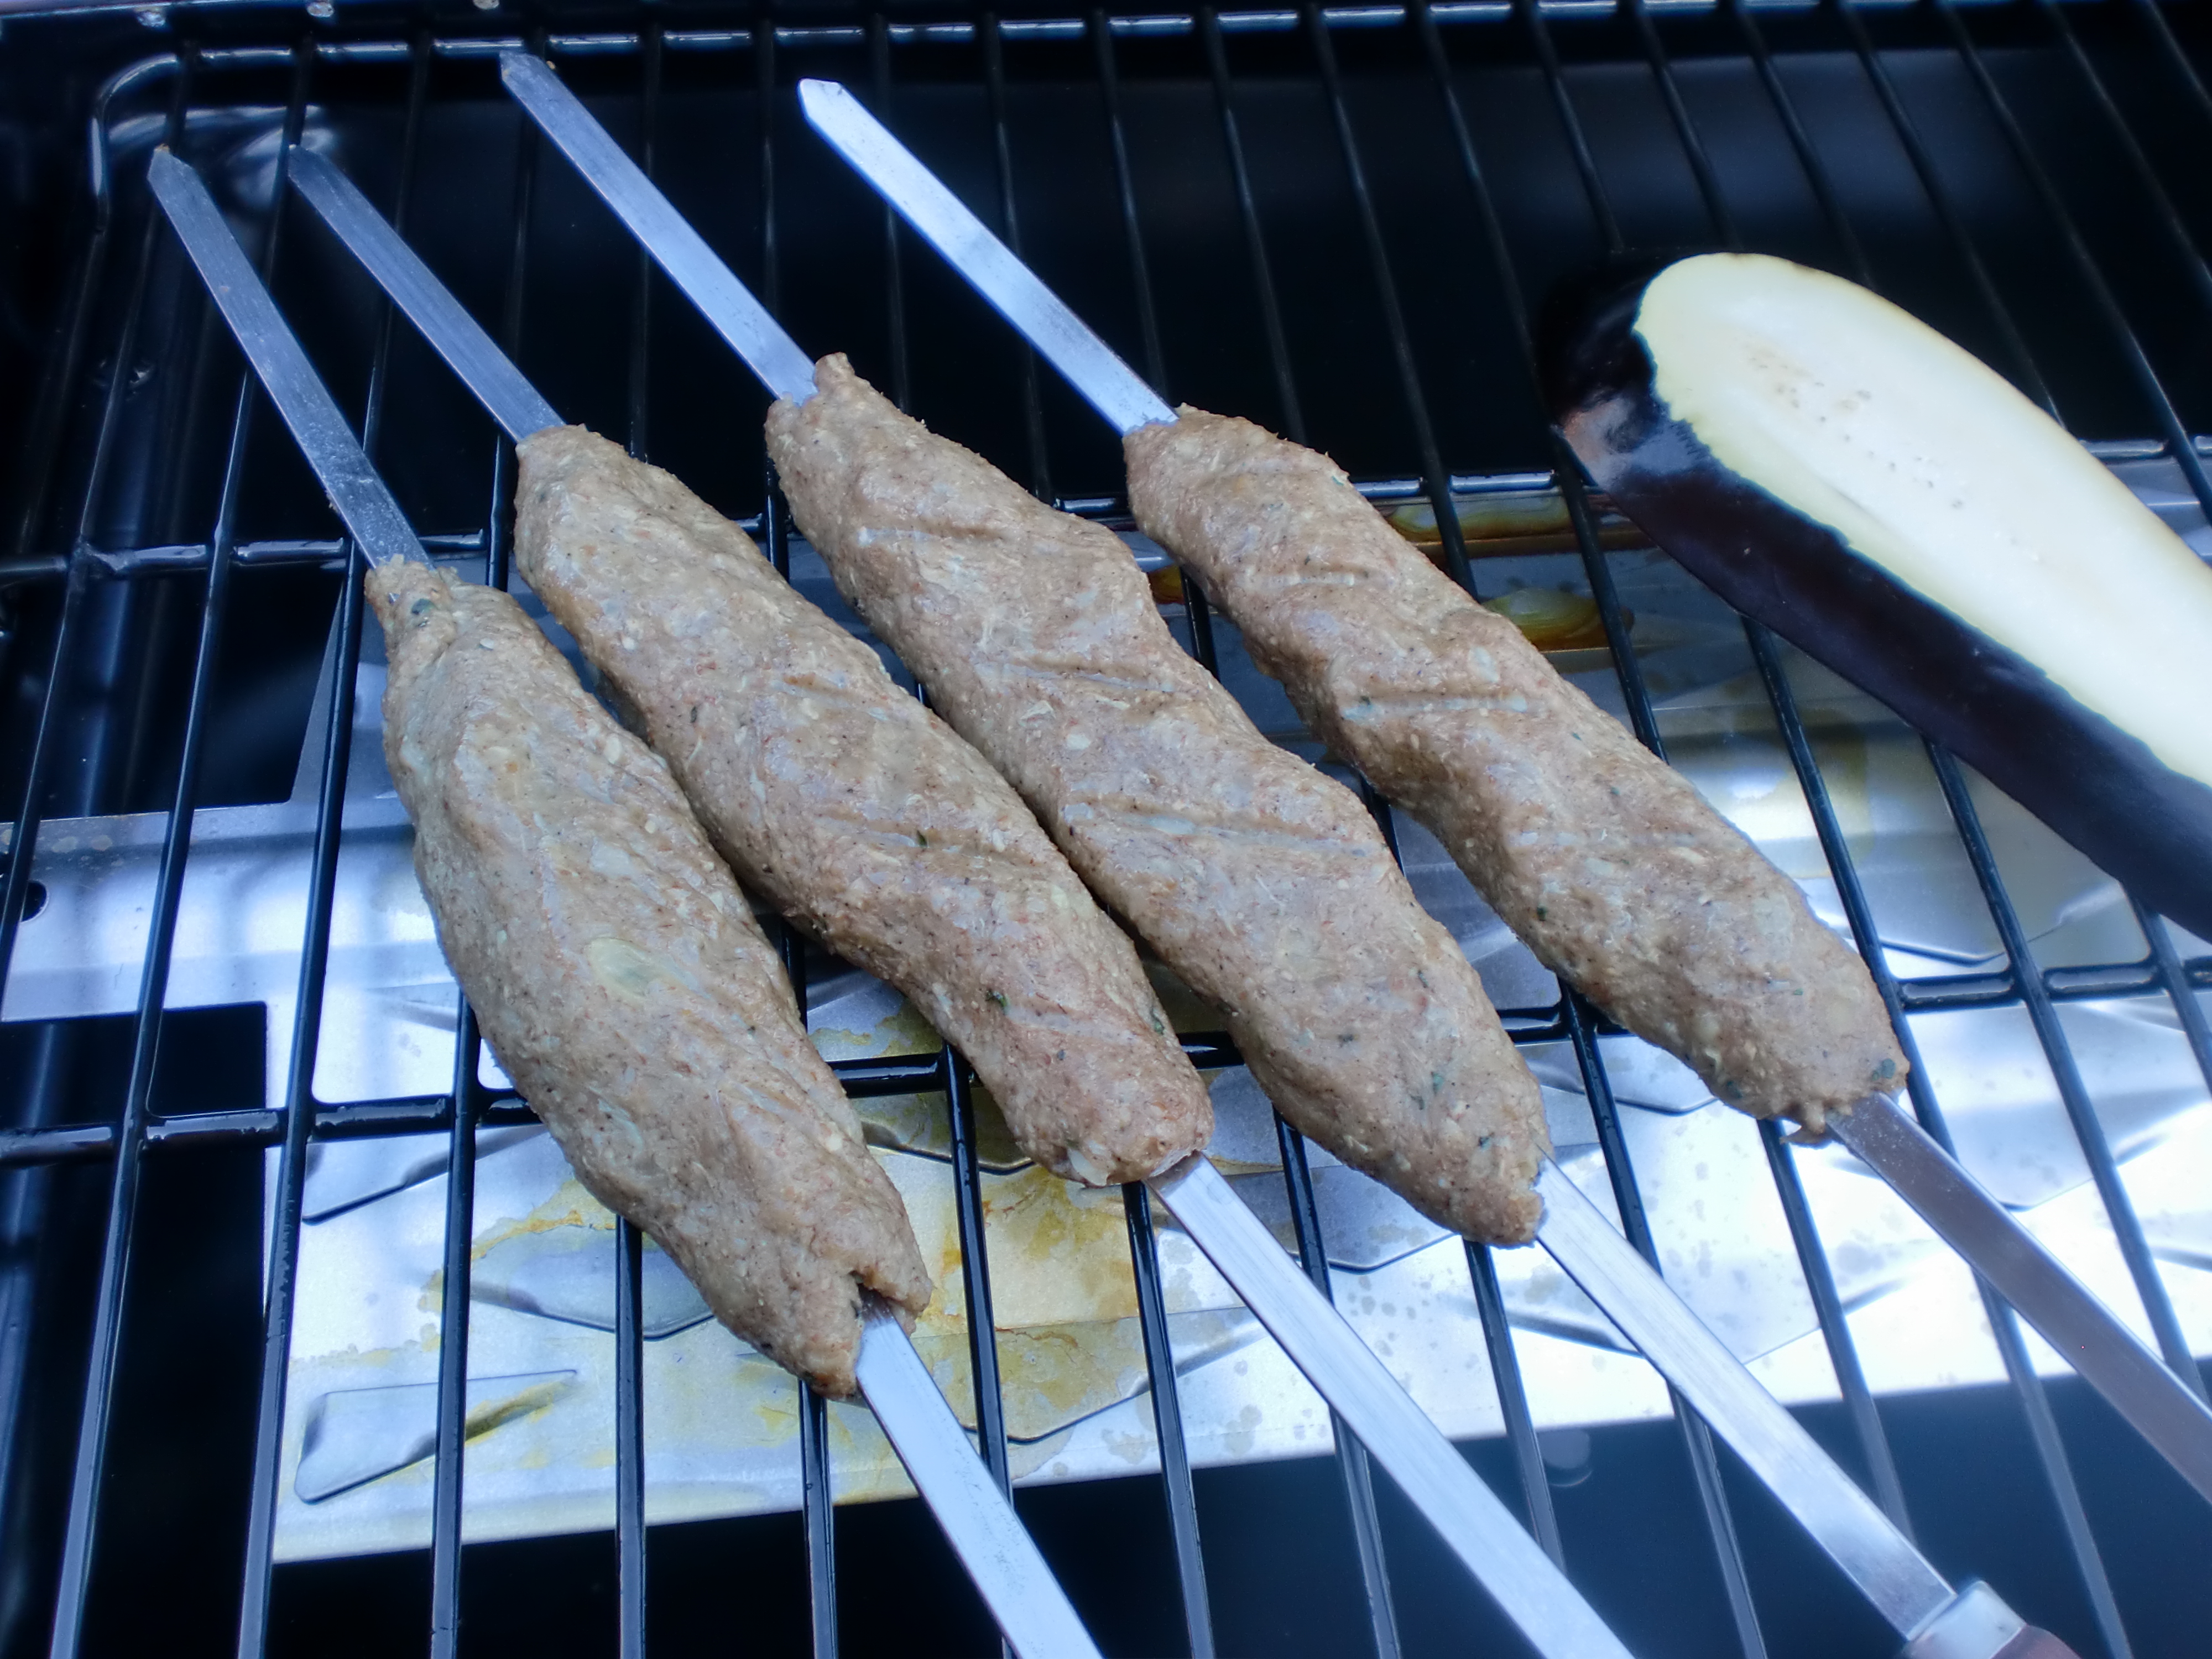
Kofta with Burghul or Kafta Khashkhash on the BBQ

Removing the skewer from the kofta
Grilling the aubergines
Wipe the griddle with a little oil and start preheating it. Wash the aubergines then cut the stems off and discard, slice them lengthways about 1cm or ½inch thickness. Grill the aubergine slices on both sides until slightly charred and cooked. Keep warm.

Aubergine slices on the griddle.
Cooking the sauce
Heat the oil in a medium sized saucepan then tip in the chopped onions and cook for about 2 minutes, next stir in the garlic and cook for one minute before adding the sliced peppers, chopped tomatoes and water, stir to mix and bring to the boil. Reduce the heat and simmer, for about 20 minutes, until the sauce is smooth and slightly thickened: not too much, season with salt, freshly milled black pepper, ½ tsp of ground cumin and chilli (1 tsp if you like it hot). Taste and adjust if needed, take off the heat. This sauce can be made ahead of time and simply re-heated, adding the chopped coriander last.
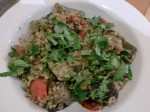
Serving the Kofta with Burghul or Kafta Khashkhash
Allow 3 pieces per person.
Put one slice of aubergine into the serving plate, top with 1 kafta and roll, repeat the process with the two remaining pieces. Pour over the warm tomato sauce and serve with Lebanese bread. This is the traditional way of serving Kafta Khashkhash, however, it is also delicious eaten with any type of potato salad (see my recipe to follow).
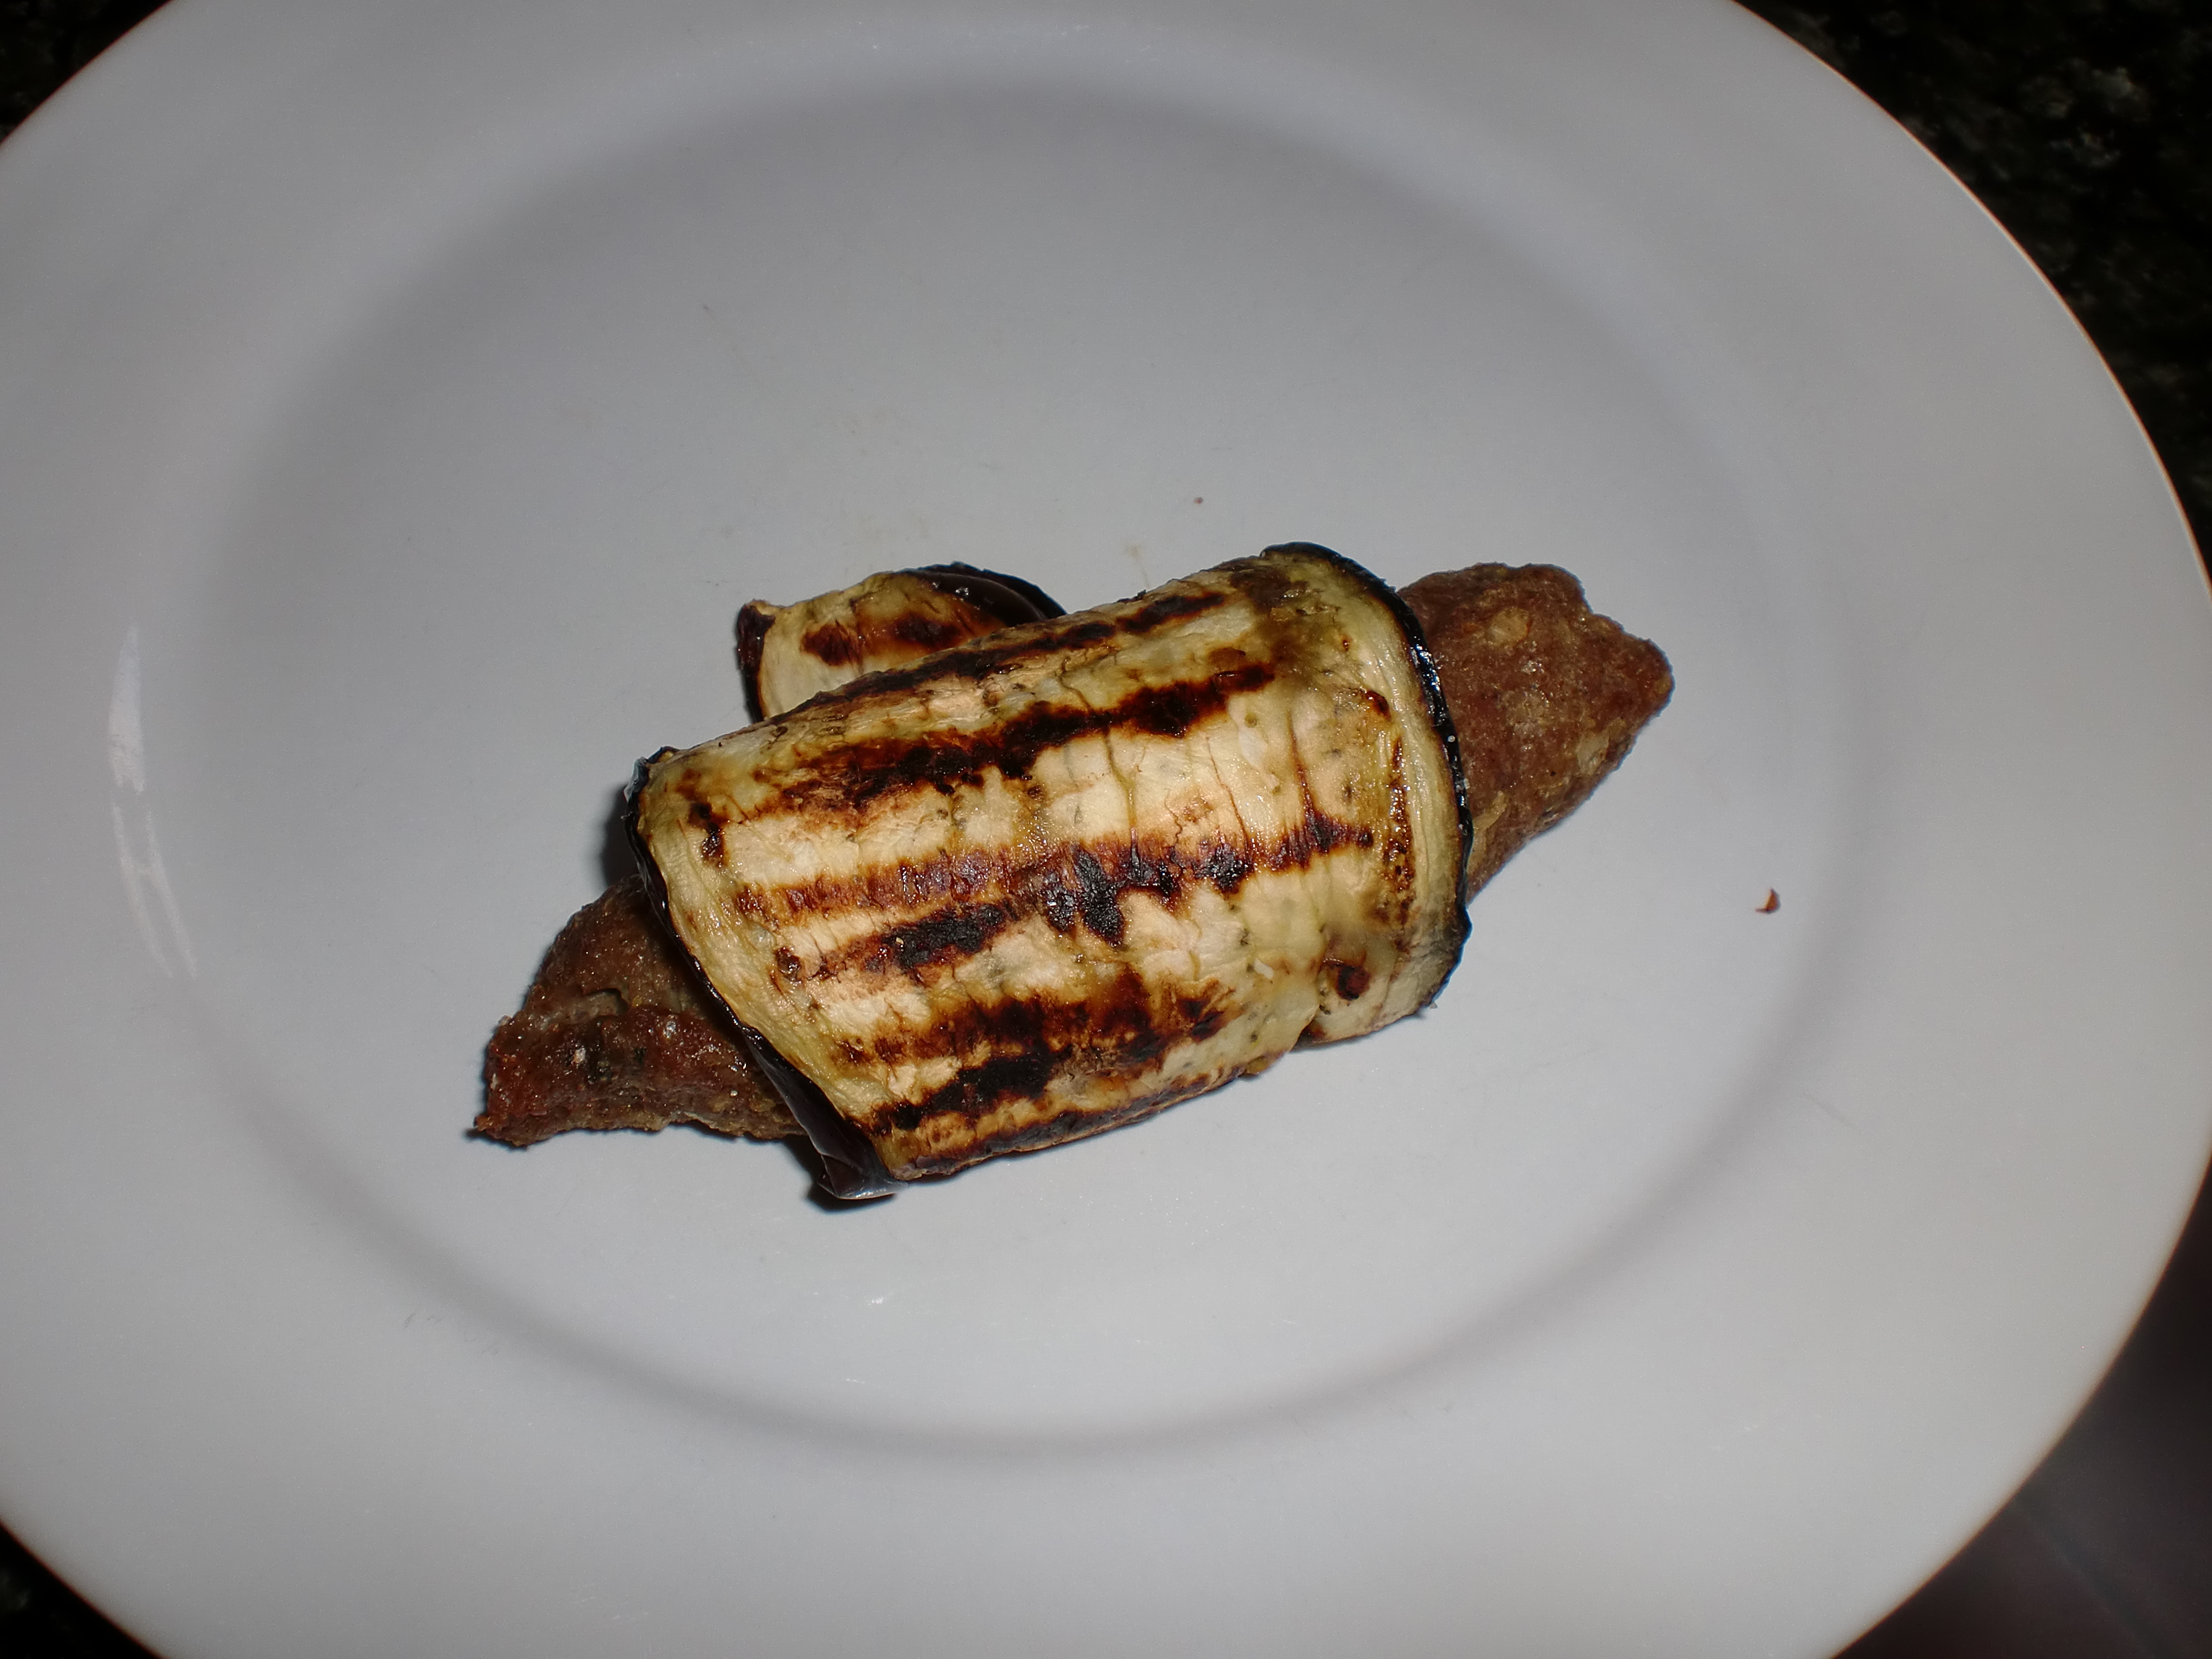
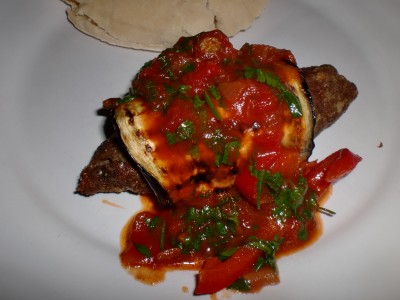
Kofta rolled in Aubergine

Kofta with Burghul or Kafta Khashkhash topped with sauce ready to serve.