Lebanese Potato Salad, Batata Mtabbaleh maa Hamoud wa Toom is a classic summery dish and can complement any type of barbecued meat or seafood, it is also delicious on its own as a starter.
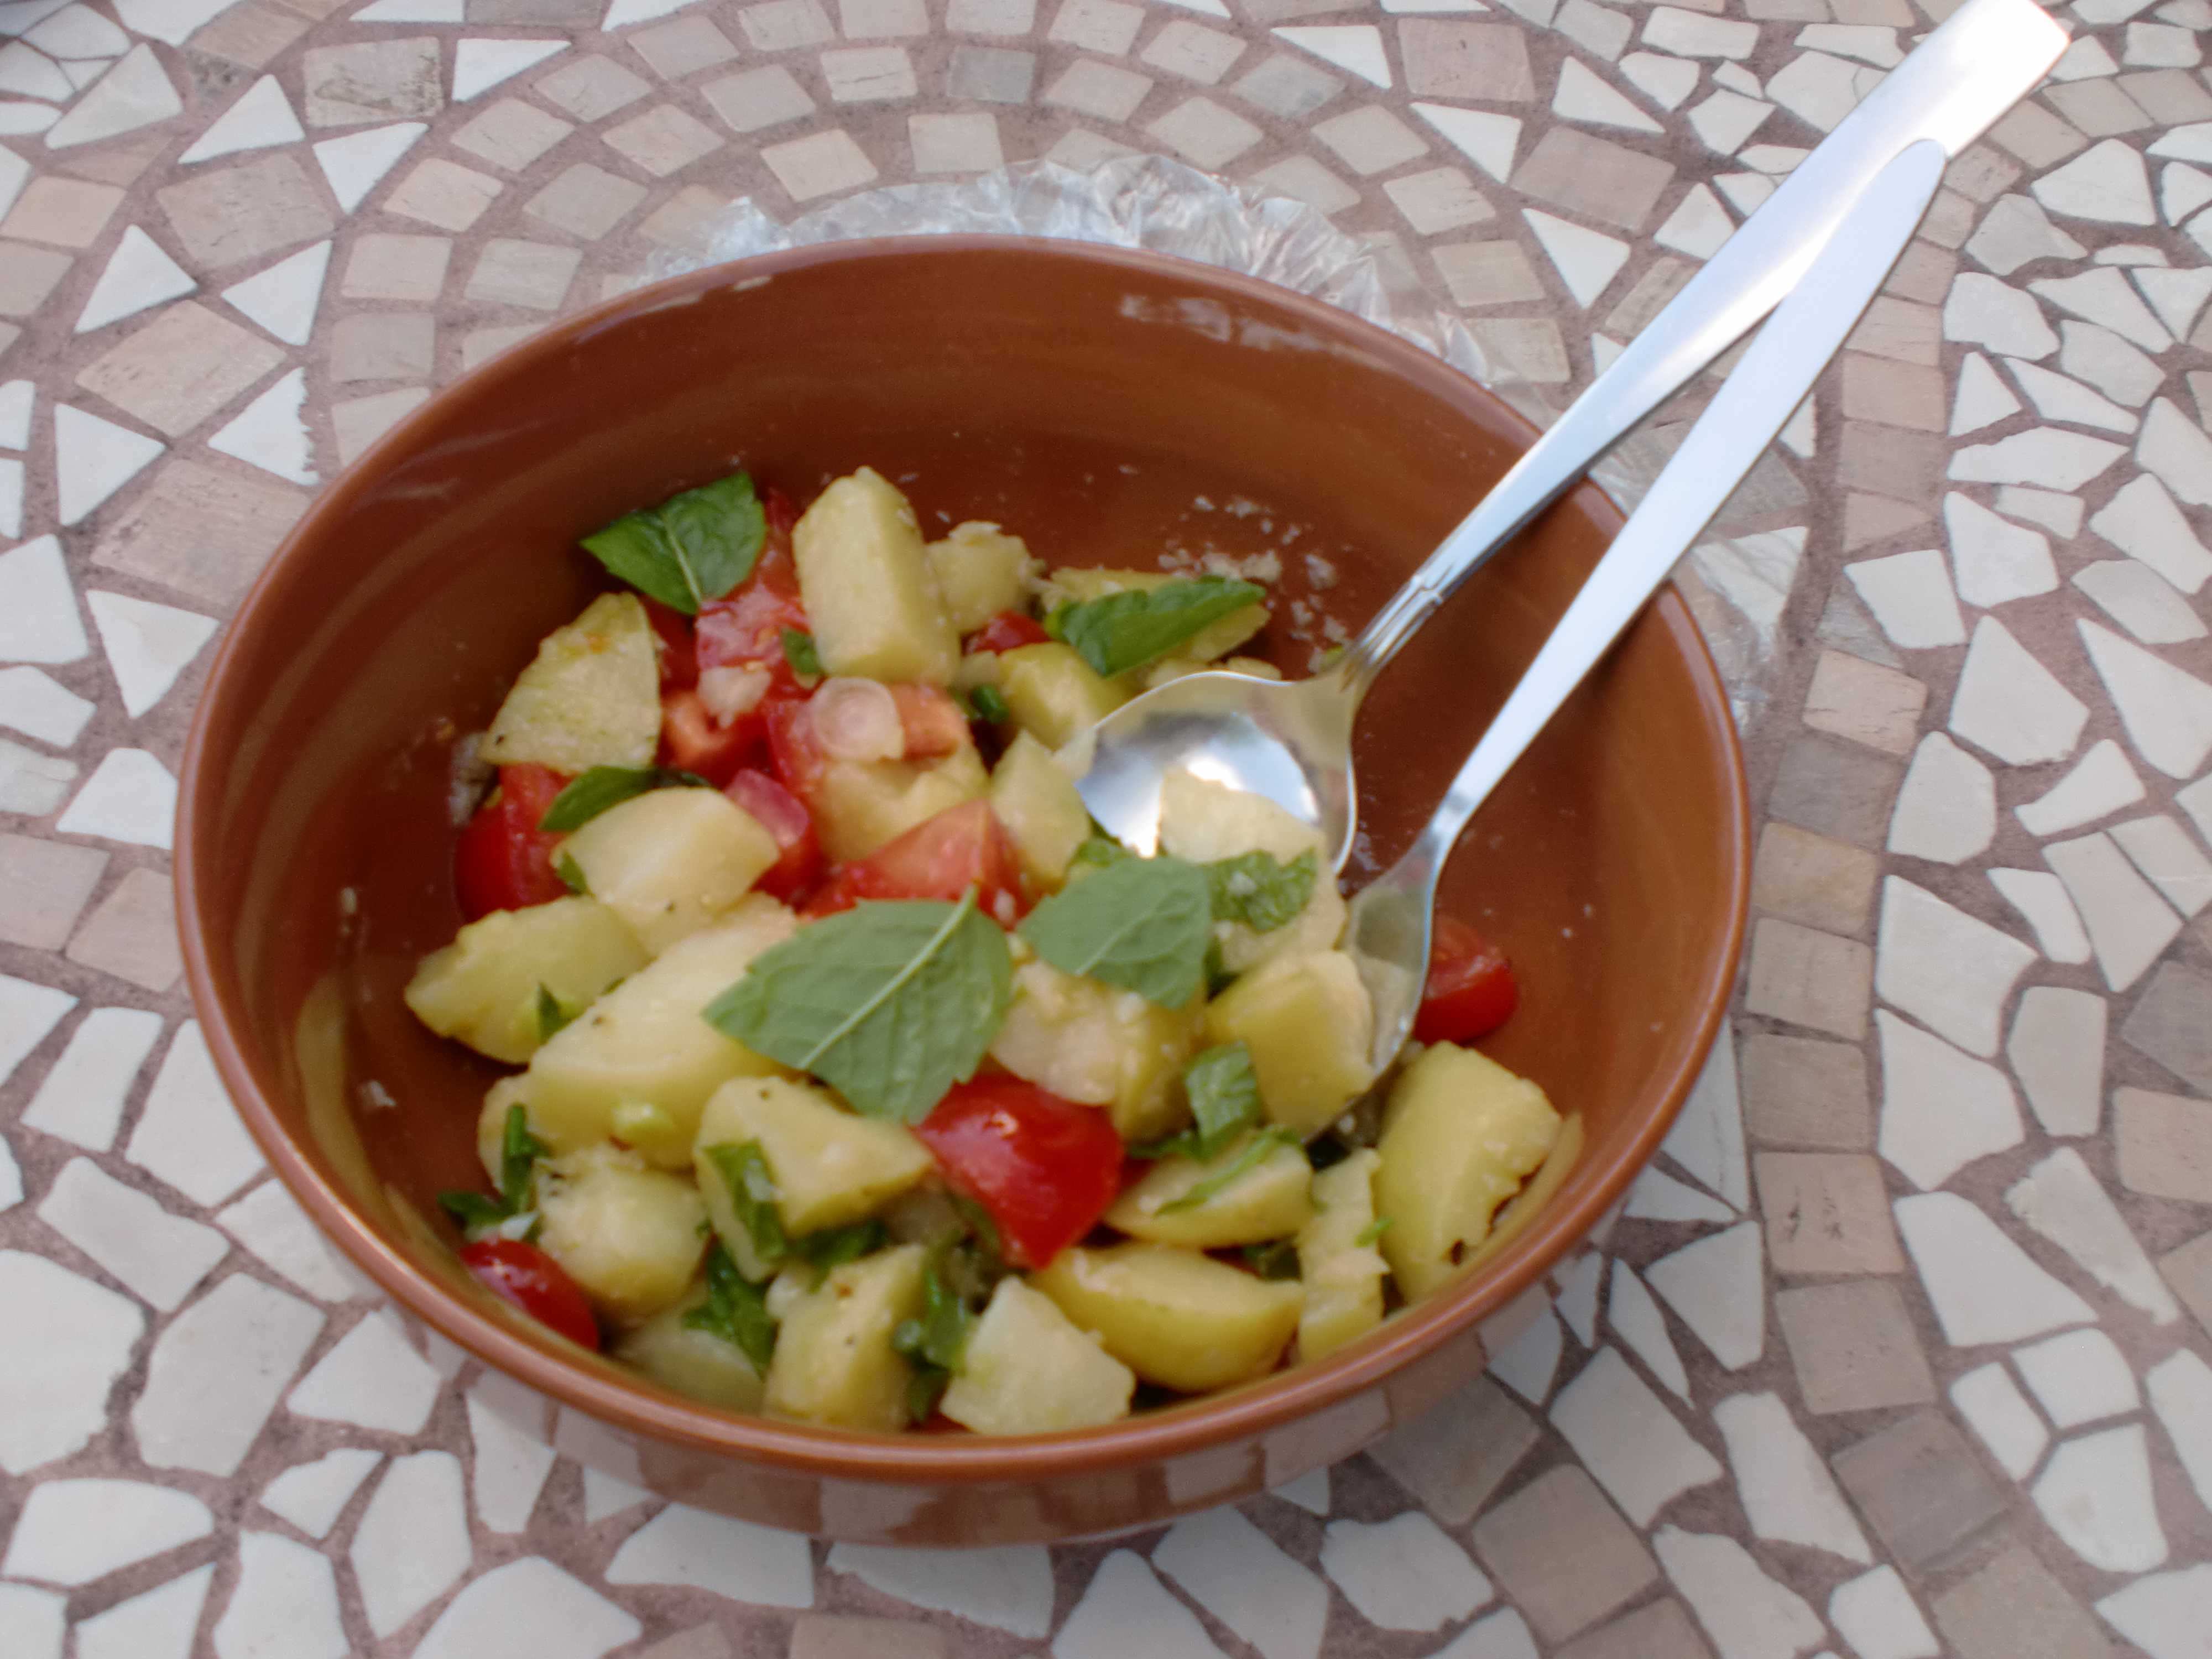
Lebanese Potato Salad, Batata Mtabbaleh maa Hamoud wa Toom
Serves 4
Ingredients
For the salad
- 450g/ 1lb potatoes
- 200g/ 7oz tomatoes washed
- 3 small spring onions or 1 small red onion
- 25g/1oz fresh mint, leaves only washed and patted dry
For the dressing
- 3-4 fat cloves of garlic peeled
- 4 tbsp lemon juice
- 6 tbsp extra virgin olive oil
- Salt to taste & freshly milled black pepper
Method
- If using small salad potatoes, you get the best flavour by steaming them. To do that, pour boiling water into a saucepan fitted with a steamer, tip the potatoes into the steamer with one or two sprigs of mint. Cover, and using a medium setting let them steam for 25 minutes or until cooked. You can test them by inserting a skewer in the centre which should feel soft. Discard the mint, then transfer potatoes into a suitable sized-bowl and cover with a clean cloth so it absorbs excess steam, and helps the potatoes to keep a nice texture without getting mushy. This should take roughly 4 minutes, then cut them into halves.
- Alternatively if using big potatoes, leave the skin on, rinse them under the tap, then put in a saucepan and cover with water, bring to the boil. Reduce the heat to a medium setting, cover and let them simmer, for nearly 25 minutes or until when inserting a skewer, they feel tender. Drain the potatoes and let them cool down before peeling off the skin. Cut them into bite sized chunky pieces.
- To prepare the dressing. Sprinkle a little salt over the garlic and crush to a paste then whisk in the lemon juice and olive oil. Season, taste and adjust if necessary then transfer into the serving bowl.
- When you are ready to serve, tip the prepared potatoes into the dressing. Finely, slice the onions then add to the potatoes, chop the tomatoes and tip them including their juice into the mixture. Now, gently mix all the ingredients, taste and adjust if necessary. Roughly, chop the mint and scatter all over the Batata Mtabbaleh maa Hamoud wa Toom salad, serve at once.
I like to serve this Lebanese Potato Salad, Batata Mtabbaleh maa Hamoud wa Toom while still warm, however, it is also delicious served at room temperature or chilled.